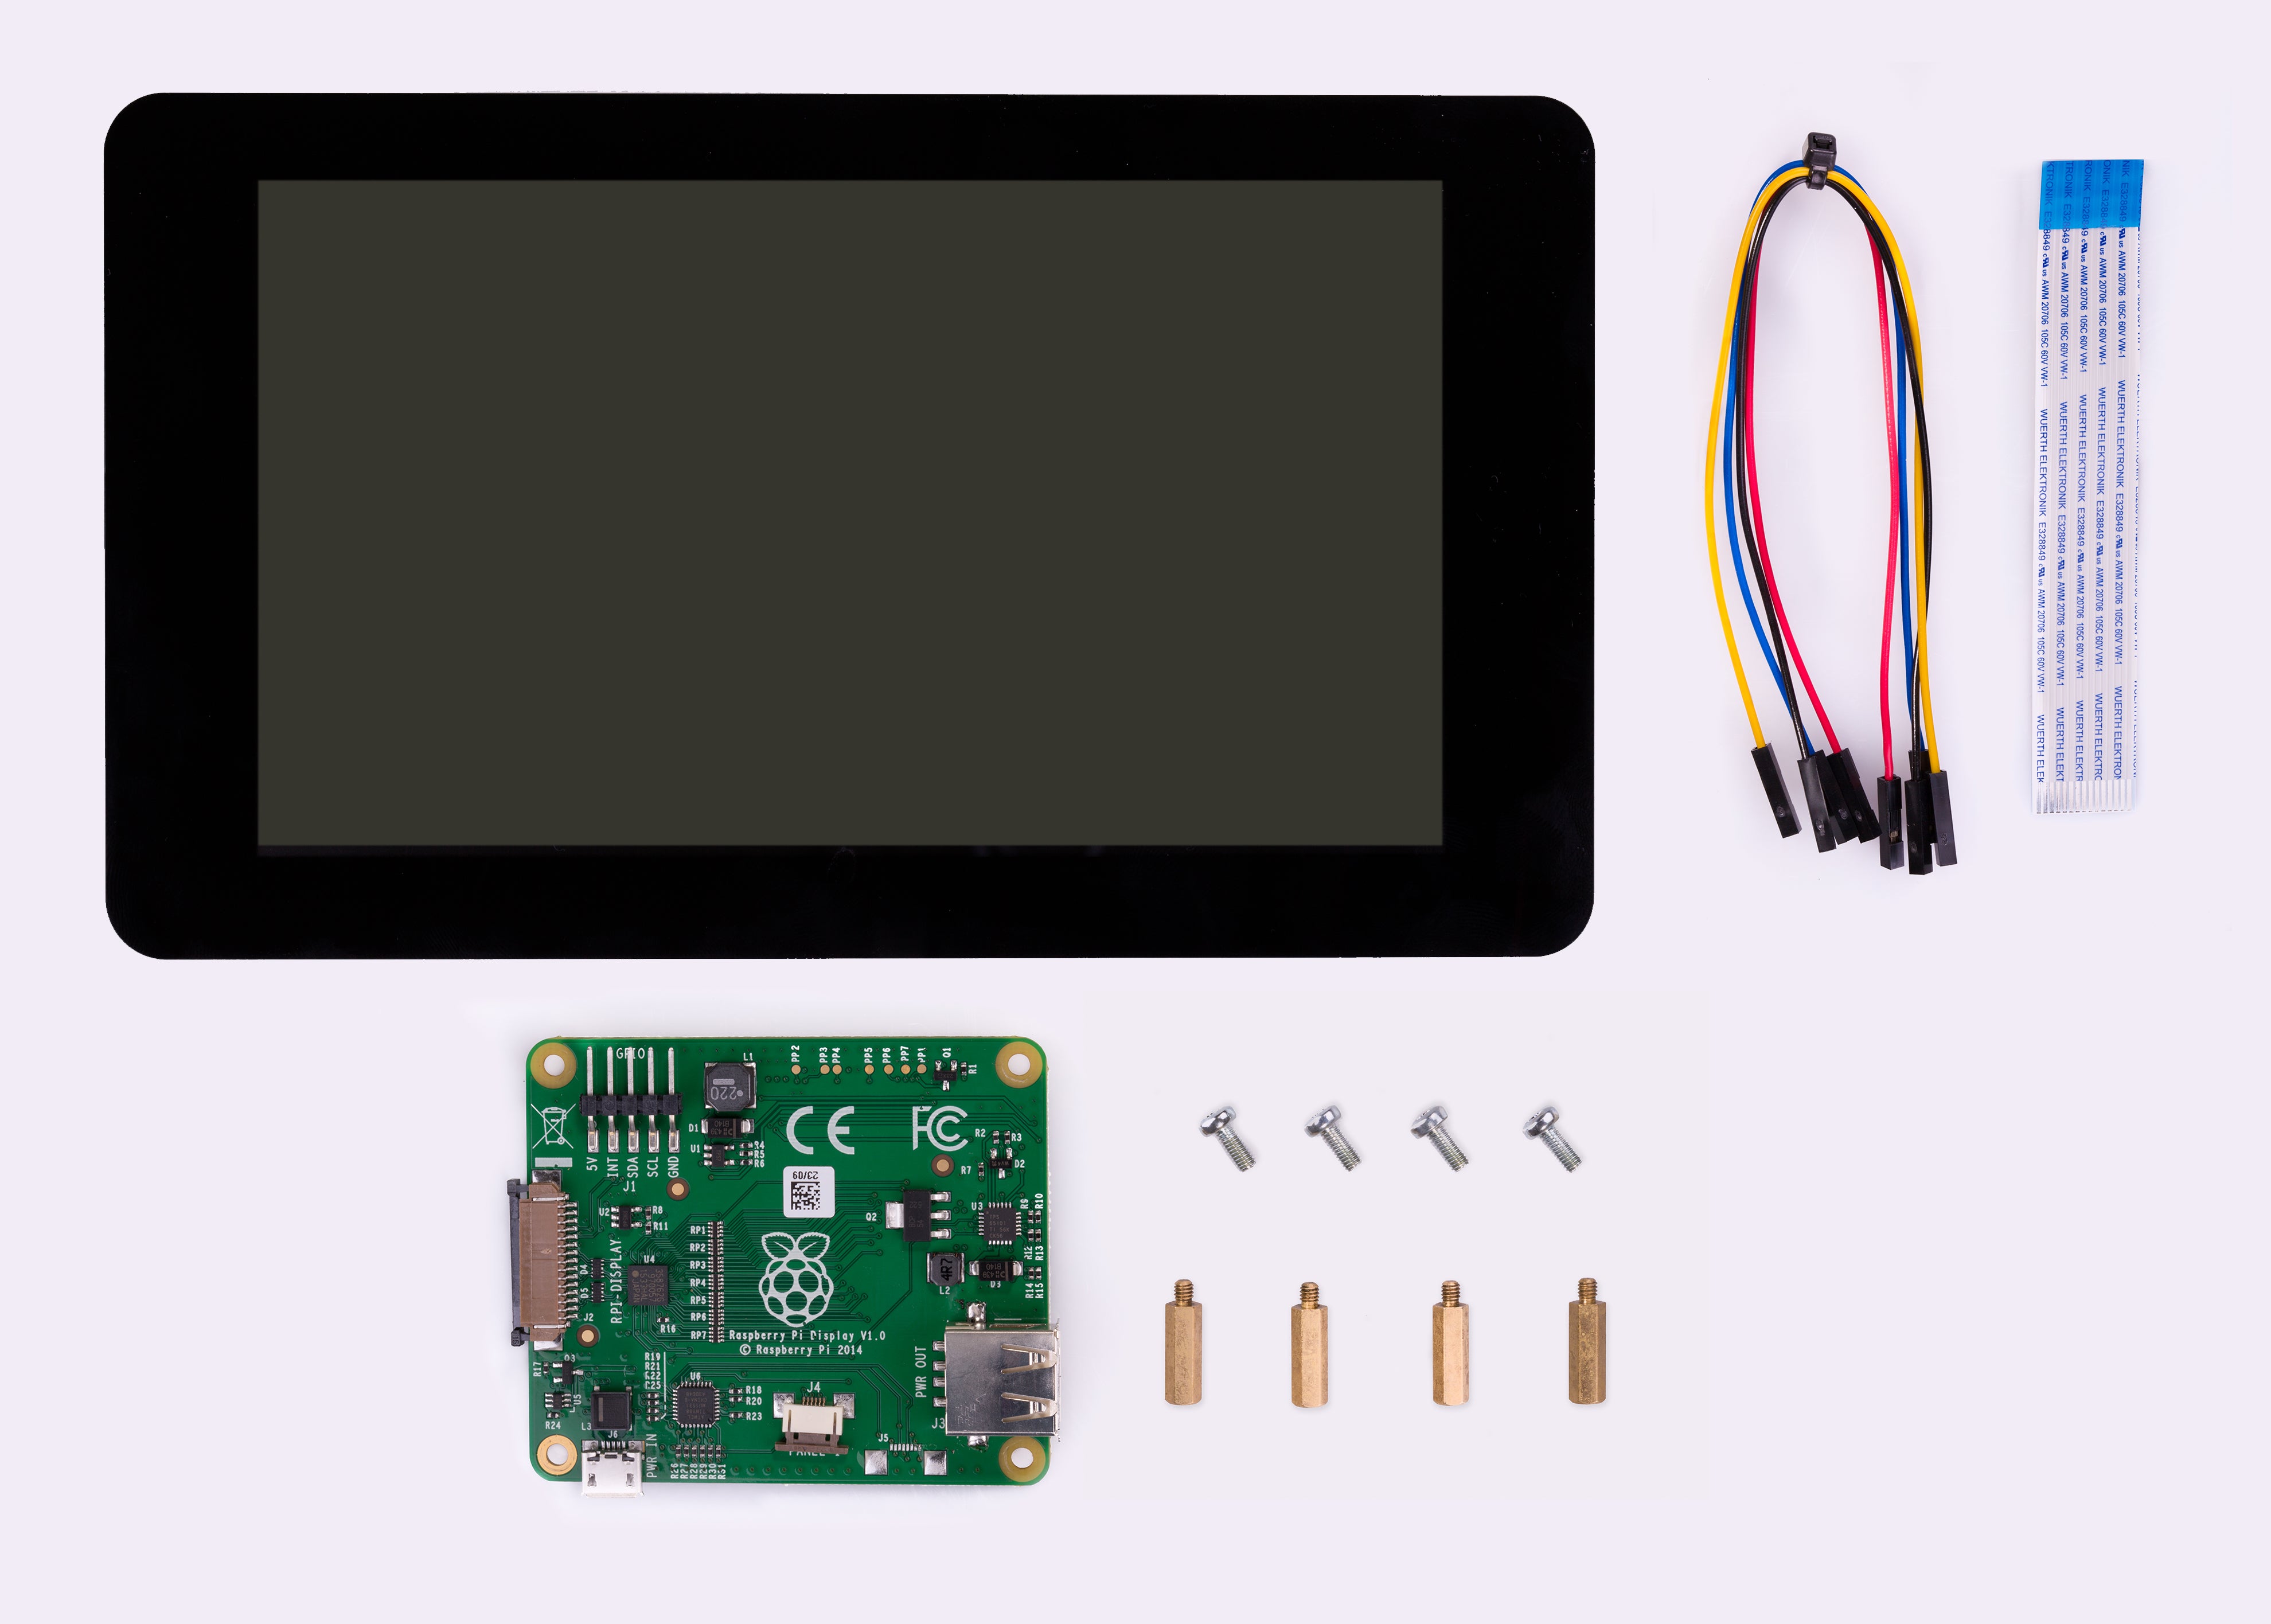
Raspberry Pi Official 15.6" Monitor (IN STOCK)
Click to enlarge

in stock

Raspberry Pi Official 15.6" Monitor (IN STOCK)

sold in last hours
SKU:
Rs. 10,990.00
Order in The Next to get it by
Real Time 26 Visitor Right Now
Description Specification Production Life Time Compliance Quick Start Instructions Connecting Your Raspberry Pi Monitor
Description

The Raspberry Pi Monitor is a 15.6-inch full HD computer display. User-friendly,
versatile, compact and affordable, it is the perfect desktop display companion for
both Raspberry Pi computers and other devices.


With built-in audio via two front-facing speakers, and VESA and screw mounting
options as well as an integrated angle-adjustable stand, the Raspberry Pi Monitor
is ideal for desktop use or for integration into projects and systems. It can be
powered directly from a Raspberry Pi, or by a separate power supply.


(Please note- Keyboard & Mouse to be purchased separately)

Specification

Features: 15.6-inch full HD 1080p IPS display
Integrated angle-adjustable stand
Built-in audio via two front-facing speakers
Audio out via 3.5mm jack
Full-size HDMI input
VESA and screw mounting options
Volume and brightness control buttons
USB-C power cable

Display: Screen size: 15.6 inches, 16:9 ratio
Panel type: IPS LCD with anti-glare coating
Display resolution: 1920 × 1080
Colour depth: 16.2M
Brightness (typical): 250 nits

Power: 1.5A at 5V

Can be powered directly from a Raspberry Pi USB port
(max 60% brightness, 50% volume) or by a separate power
supply (max 100% brightness, 100% volume)
Connectivity: Standard HDMI port (1.4 compliant)
3.5mm stereo headphone jack
USB-C (power in)

Audio: 2 × 1.2W integrated speakers

Support for 44.1kHz, 48kHz, and 96kHz sample rates

Production Life Time

The Raspberry Pi Monitor will remain in production until at

least January 2034

Compliance

For a full list of local and regional product approvals, please

visit pip.raspberrypi.com

Quick Start Instructions

Quick start instructions

1. Remove the monitor and cable from the box
2. Please read the product information leaflet before using the monitor
3. Remove the monitor from its sleeve
4. Unclip the stand from the back of the monitor, and rotate it open to reveal the connectors
5. Plug in the power and HDMI cables
6. Place the monitor on a flat, stable surface, or mount it using the VESA or screw
mount attachment points
Suitable spacers (not supplied) must be used between the monitor and the VESA
bracket; make sure you use spacers that are wide enough to allow sufficient space for
the power and HDMI cables
7. Turn on the computer or power adapter; the monitor will power on

0 ̊—90 ̊

Using the monitor with the integrated
angle-adjustable stan

Using the monitor with a VESA mount

TIPS
• Adjust volume and brightness with the control buttons on the back of the monitor
• Turn the monitor on and off with the power button on the back
• Find your preferred viewing angle by adjusting the integrated stand
• Tidy the cables using the notch at the base of the monitor

Connecting Your Raspberry Pi Monitor

Connecting your Raspberry Pi Monitor

Make sure you use the right power supply for your Raspberry Pi.
Check which you need: rptl.io/powersupplies

Powered from Raspberry Pi
Maximum 60% brightness | 50% volume

Powered by separate power supply
Maximum 100% brightness | 100% volume